
In modern photography, knowledge of different color models, their color spaces, and the selection and application of their variants – are very important in practice for several reasons. Today, most of the digital devices we use are based on the RGB color model. What exactly is RGB, and what tips and tricks for RGB video light you can use – see the text below.
What Do We Mean By RGB In Photography?
Today, we often hear the term RGB, especially when it comes to photography or video recording. Moreover, most modern digital photography and recording devices already have an implemented RGB color and lighting system. And what exactly is RGB? For those who are less familiar with this topic, we will say that it is a visual effect that combines three colors: red, green, and blue – and by mixing them we can get different colors. When using this combination of colors and their variants – reproductions of our photos can look far better and more eye-catching. However, do not mix this with any of the filters we use today when taking selfies. RGB is one of the basic tools for professional photographers who know that the potential of good lighting can do wonders in photography.
How Does RGB Function In Shooting Devices We Use?
As we have mentioned, the choice of colors and their application are important to contemporary photographers for many reasons. One of these reasons is the way digital photography will be reproduced. Another important reason is the correct assessment of the potential of the data available to the photographer for further processing. The third reason is technical and determines whether the devices for photographing and reproducing a photo will be compatible, etc. The devices we use in digital photography practice – mostly use different color spaces based on the RGB color model. The RGB color model follows us from taking photos or scanning – all the way to presenting photos by using various devices such as projectors, TVs, etc. The RGB color model is defined by three channels – and each of them controls one of the primary colors: red, green, and blue. Each channel has a certain equal number of tone levels – and we can use different procedures to make color corrections.
RGB Video Lights And Practical Tips On Using It
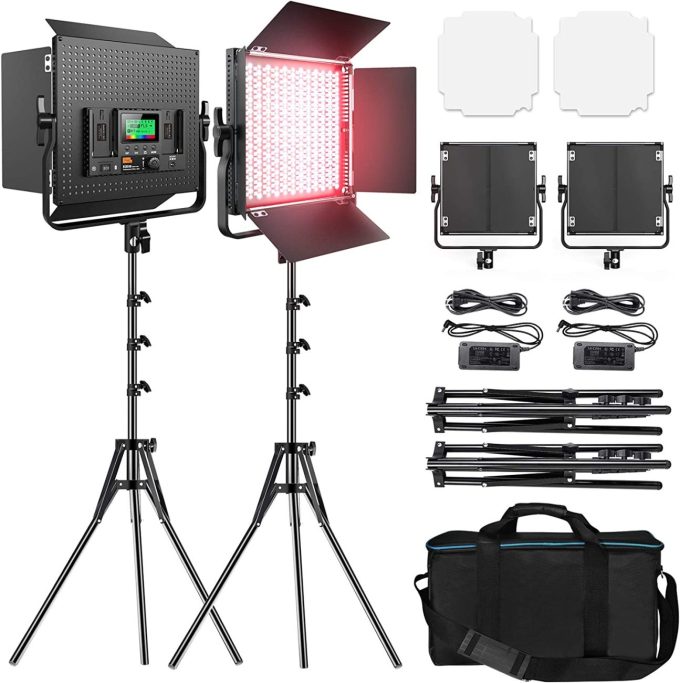
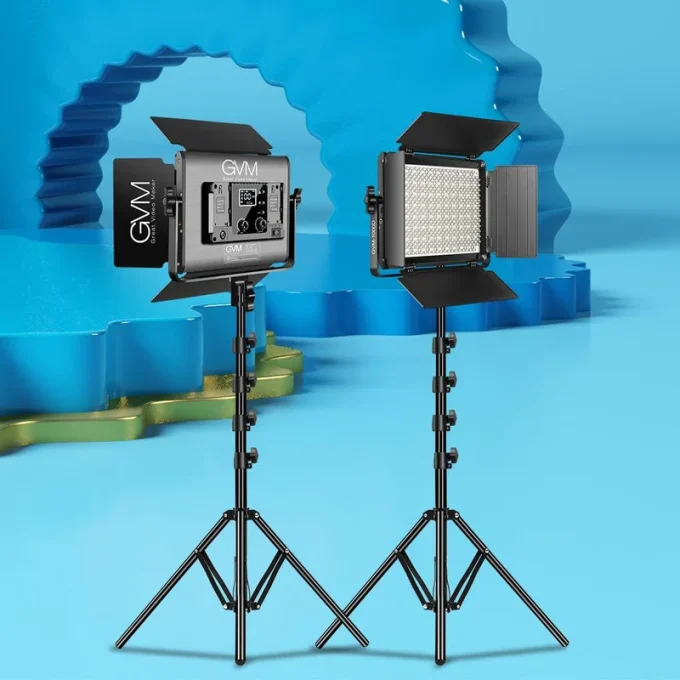
Although relatively recent, RGB LED technology and light-emitting diodes are great tools that photographers should make the most of. In the periods before we got to know this technology, we usually used the addition of gels that would add at least a little vibrancy and color to our photos. Although this has had the desired effect and this technique is still used – why not do it more simply? COLBOR offers RGB Video Light tools that can help you out with both video shooting and portrait photographs. Today we can change the hue of color but also the saturation of light just by pressing a switch. Of course, we are talking about the RGB video light panel, which has proven to be incredibly practical and useful – and here are some tips on how you can use it and achieve the desired effects.
1. Change The Background Colors
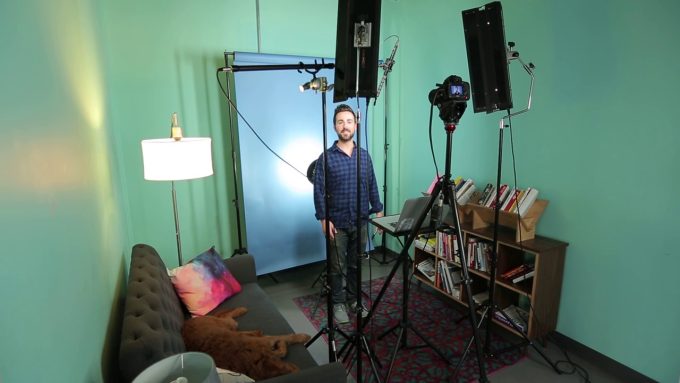
The background is essential when you want to take good photos. That is especially true for portraits, such as the ones you can take in professional photo studios. So you need to change the background sometimes. The easiest way to do it is by changing the background color. You can easily do this by placing RGB photography light in front of a white background. So how does it work if the background is white? Easy! Choose the RGB light video background and color you want, and turn on the lighting that will give you a completely different background color! Don’t forget to spread the light evenly so that you do not have uneven light in the background. If you want or have the ability – you can use modifiers that serve to even out the light.
2. Use RGB Lights On The Subject You Are Shooting
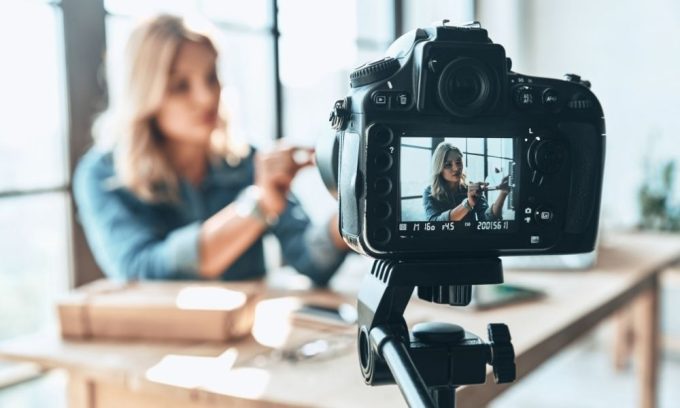
If you want your photo to have a unique appearance and charm, then it is a good idea to direct the RGB light directly towards the object or person you are photographing or shooting. Of course, by mixing colors, you will get a unique shade that suits you best or emphasizes what you want for your object. You will see that you will be surprised by the results. Namely, this kind of lighting gives you much more than the standard lighting that is normally used when taking photos or shooting. The key is that, for example, some tones of this color spectrum look far better on the face – and therefore the photo turns out far more beautiful.
3. Enhance Scene Photos Or Videos
This is another good tip for those considering using RGB lights to enhance their photos or videos. Using RGB shades of light can be extremely effective when illuminating a scenery or photo frame. In this way, you will achieve an effect that will introduce the viewer to your photo a little “behind the scenes” – that is, show a little more scene behind the object of what you are photographing. If you choose to light the frame, you will complete the context of the entire photo and will emphasize the overall look of the shot you made.
Practice Teaches You To Do It Better
Of course, with the use of RGB tones and colors you need to work carefully, and as for everything else – you need practice. Don’t be afraid to experiment with shades, color tones, and different ‘light options’. Even if you make a mistake, you will learn something from it all. What you should strive for the most – is an effective light that will make the object of your photo more natural, authentic, and vivid.